Raspberry Pi Security Camera
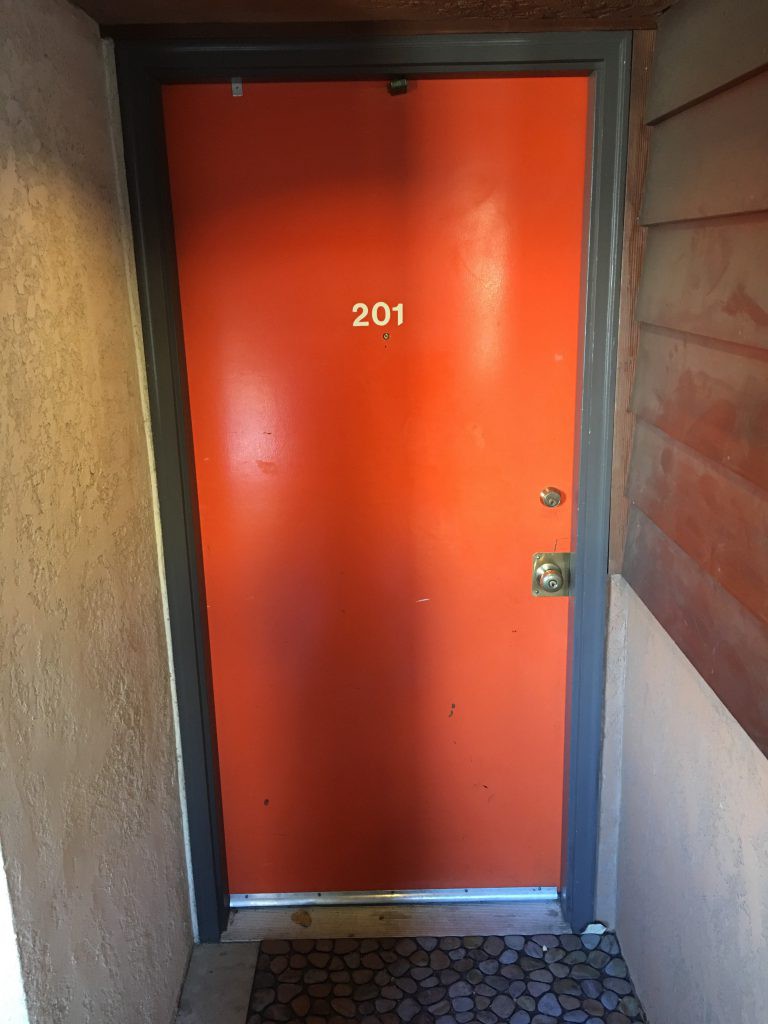
Last holiday season I decided I needed a security camera to watch my front door which I could access remotely. I spent several consecutive days before Christmas at a friend’s house a 30 minute drive away from my apartment. Being a gift shopping procrastinator, I had Amazon delivering packages up until December 24. I didn’t want packages hanging out on the porch for several days at a time, so I did a bit of research to find a security camera system that would notify me when a package arrived.
Over the last several years, I’ve acquired quite the collection of Raspberry Pi boards and peripherals and figured the cheapest way to do what I wanted to do was to use that. There were two components to the the system I eventually settled on: the Raspberry Pi with a camera module and the method by which I could access my home network remotely and hence the camera feed.
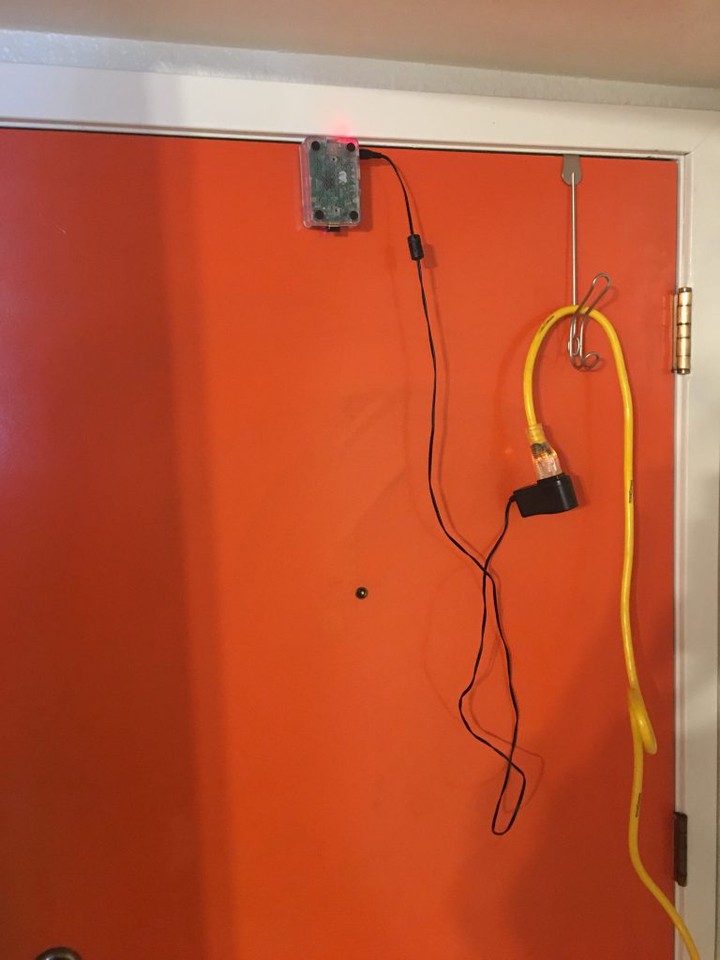
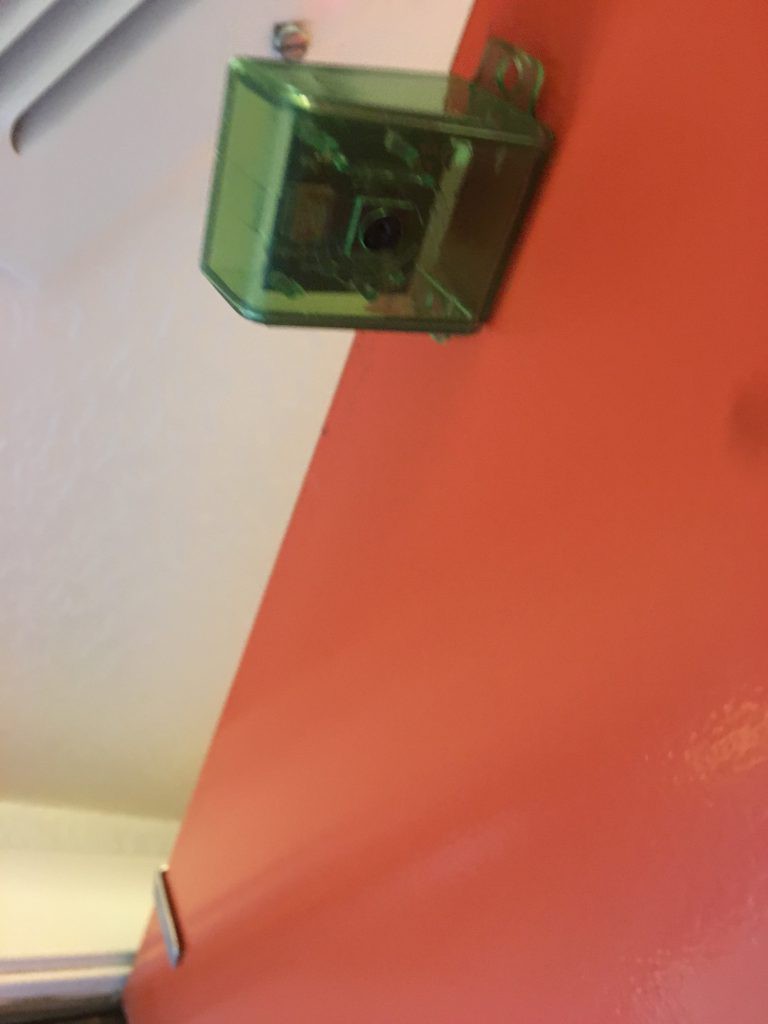
The camera set-up was actually the easy part. I downloaded an open source operating system called MotionEyeOS, available on github here, and installed it on my Pi. MotionEyeOS is fairly user friendly and very customizable. It has a browser interface which you access by typing the local IP address of the Pi into a browser connected to the network. I was able to configure it so that every time it detected motion it would send me an email with a photo taken 10 seconds after enough pixels changed in the image to trigger the detector. I think about half the emails I received were of changing shadows and not of package deliveries, but I think that could be remedied by fiddling with the sensitivity settings. Double sided tape was used to attach the Pi to the interior side of the door and the camera to the outside of the door. Flex cable connected the Pi to the camera and did not affect the closing of the door at all. The most inelegant part of the whole system was the power cord, which I had to run across the floor and up the wall.
Now, I could have stopped there since I already had the functionality I wanted, i.e. a notification that informed when a package was delivered, but I still wanted to be able to view a live feed from the camera remotely. To do that, I needed a way to access my home network remotely. The most common solution is to forward a port on your router, but this didn’t seem all that secure to me. I decided instead to set up a VPN on my home network. I again used open source software, a program called OpenVPN, which runs on a router. The caveat to using this method is that the router has to have a processor fast enough to run OpenVPN alongside everything else it does. I have a Netgear Nighthawk AC1750 with a 1 GHz processor which was up to the task.
After installing OpenVPN on my router, I also had to install it on any client computer I wanted to access my network with and then transfer the security credentials to those client computers via a USB thumb drive. Then to connect to the network, all I had to do was input my router’s assigned IP address into OpenVPN software on my client computer and hit connect. The problem is that the IP address my internet service provider assigns to my router tends to change. To address that issue, I signed up for a DynamicDNS service though a company called No-Ip, which gave me a static URL that was always forwarded to my router’s IP address and updated anytime my IP address changed.
I had fun with this project, and since I implemented it with hardware I already had, it cost me $0. Had I used new hardware, I would have been down about $70. That’s about the cost of a Raspberry Pi with a camera module. Thanks for reading!
Mason Pelfrey
Data Scientist
I’m a data scientist living in Boulder, CO. You can find my professional LinkedIn page here.